 Retro Space 4.0
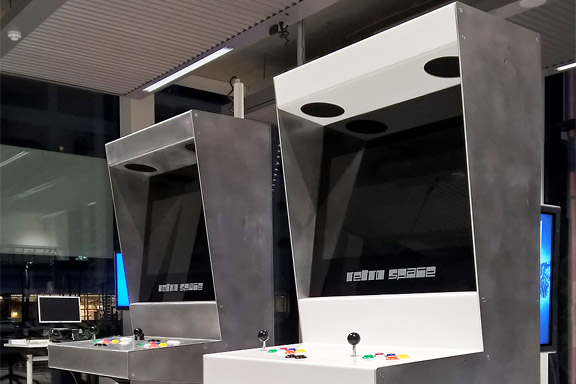
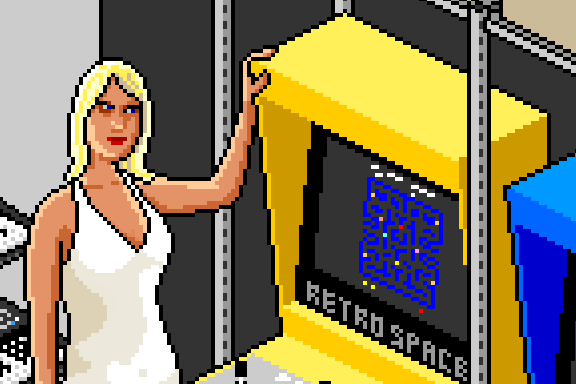
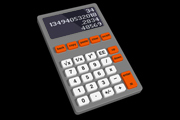
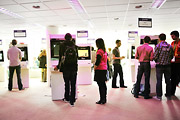
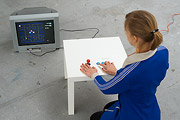
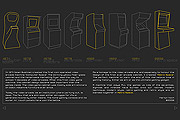
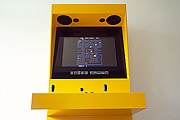
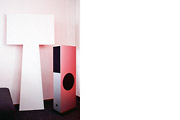
英語のみでの詳細Sound and Vision in Hilverum was interested in buying Retro Space arcade cabinets for their museum.
This request demanded an extra durable version of the Retro Space cabinets.
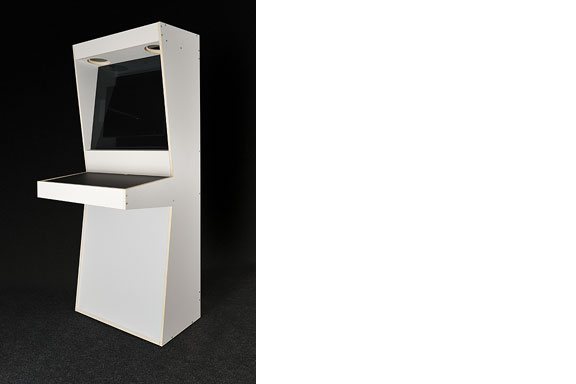
The new cabinet is fully re-engineered in folded aluminium sheets. The cab is fully modular, perfectly recyclable and gets prettier from a little use.
Notice: Undefined variable: tekst in /home/w1512188/domains/martijnkoch.com/public_html/index.php on line 285
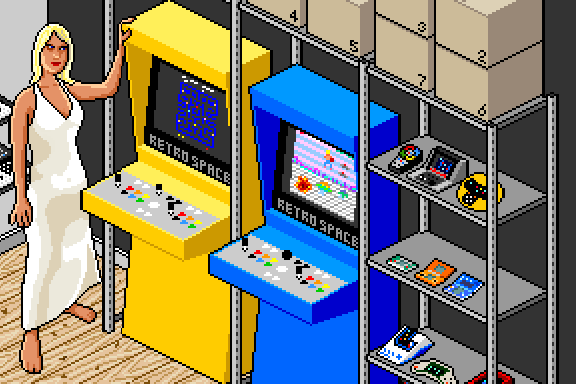
 ピクセルアート
Notice: Undefined variable: tekst in /home/w1512188/domains/martijnkoch.com/public_html/index.php on line 296
 アーケード キャビネットそれを自分で行う
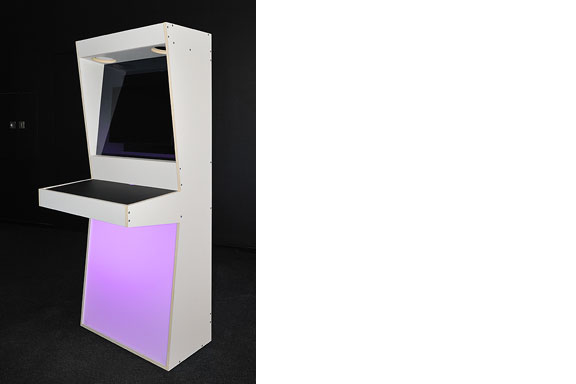
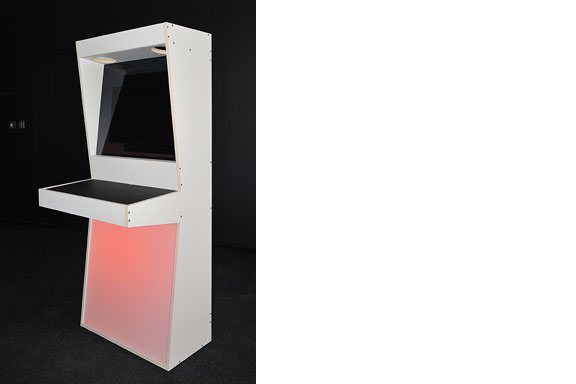
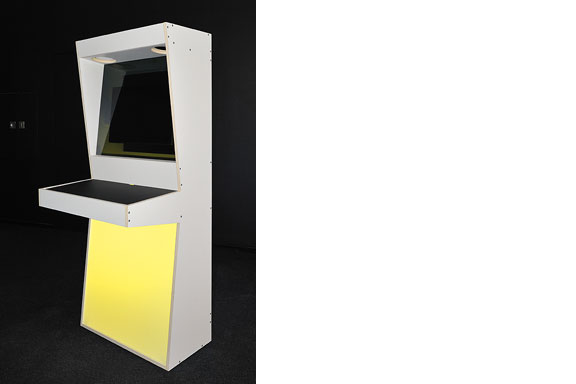
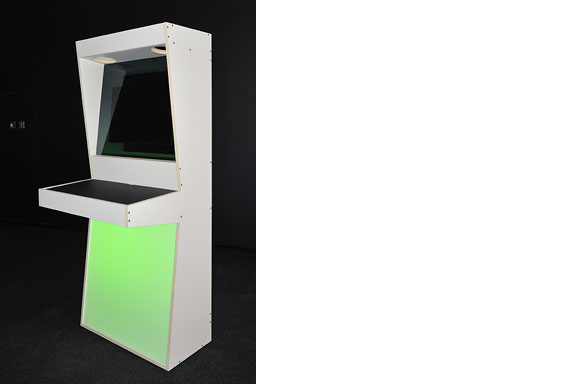
英語のみでの詳細By the end of January 2013, Dutch Dame Garden asked me for a new series of arcade cabinets. They had to be finished within 1.5 month, to have it shipped to the Game Developer Conference in San Francisco from March 25th-29th. They wanted a new design with their beloved silhouette. The new version should be easier to carry, transportable as flat pack and when possible a lot cheaper.
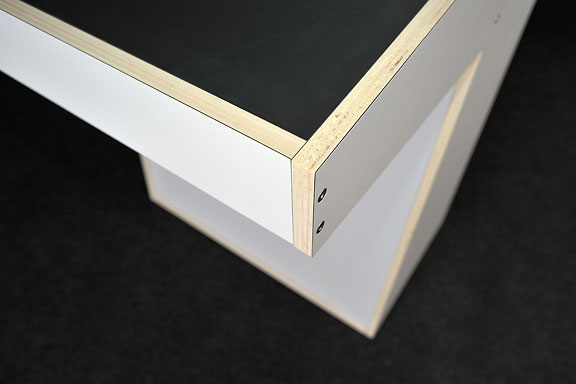
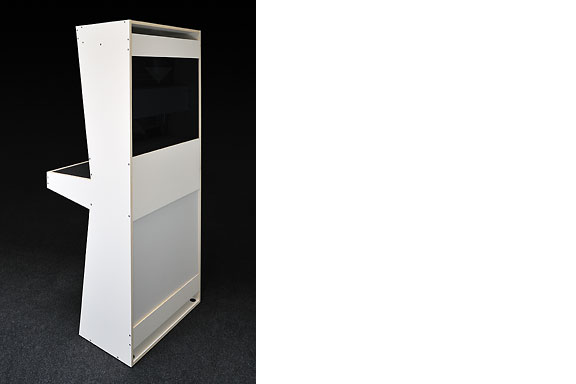
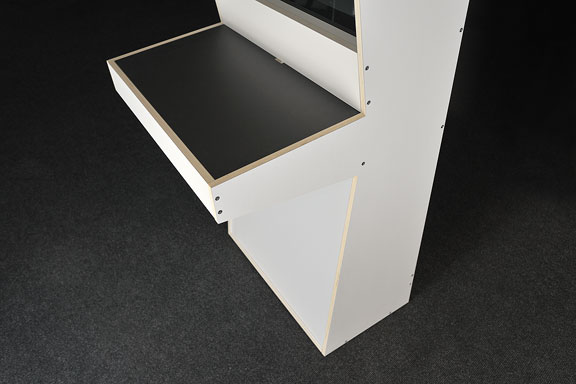
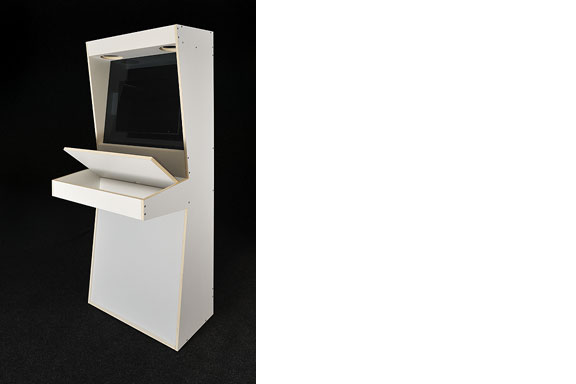
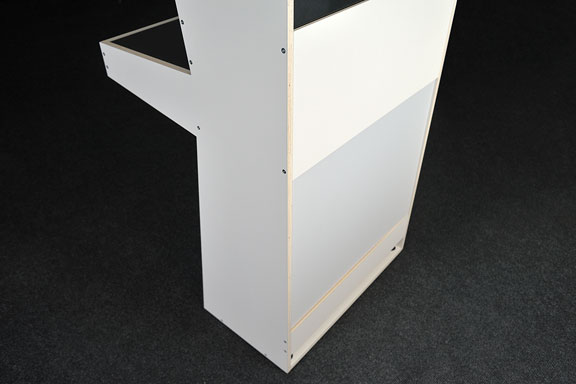
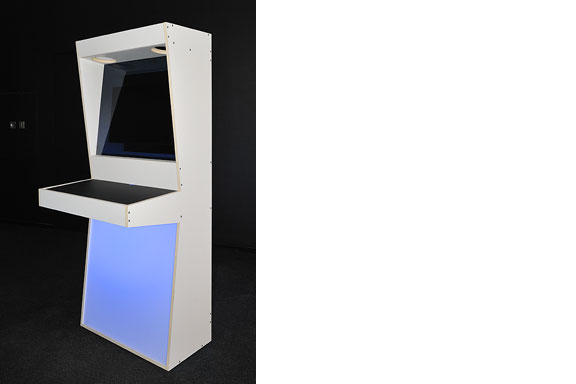
The new cabinet can be assembled DIY with a standard 4mm hex wrench, just like IKEA furniture. De parts are made from white laminated poplar plywood for light weight and nice finish. At the top the cabinet holds 2 smoked plexi sheets to protect both screens at the front and the back. The Dutch Game Garden wants games to be visible on two sides for their Indigo shows. It allows a more passive group of visitors to just look at the games being played. The bottom part is filled with 2 matte white sheets of plexi. If you put multi-colour LED lights inside the bottom part, you can illuminate these sheets with any colour you like. The version that is showed here does not have any controls on the control panel. This is because companies that show games at Indigo bring their own controls. They make games for all platforms like Playstation, Xbox, iPad, PC etc, so there is no standard set of controls.
At the moment we are finding out the best way to sell this version to those who are interested in a DIY arcade cabinet.
 ナビゲーションに失われた
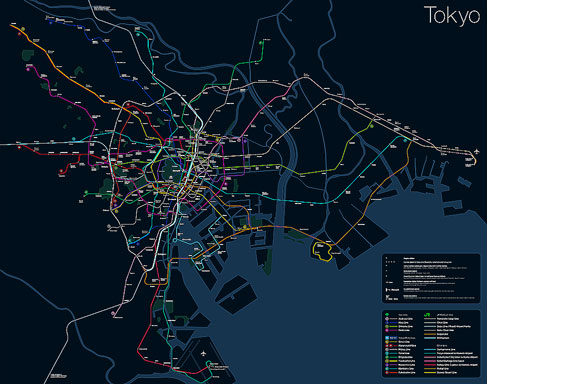
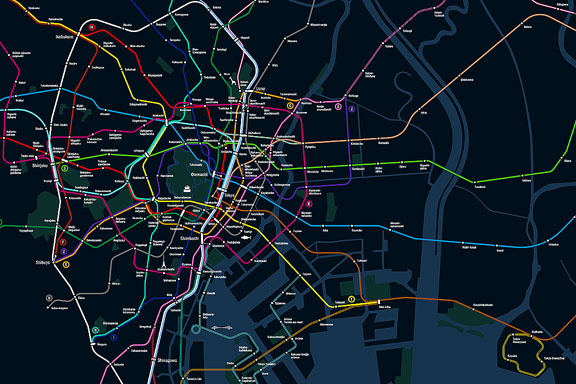
英語のみでの詳細Tokyo is a breathtaking city. Most metropolises have 1 urban railway network. Easy. Tokyo, the biggest metropolis on Earth, is a lot more complex.
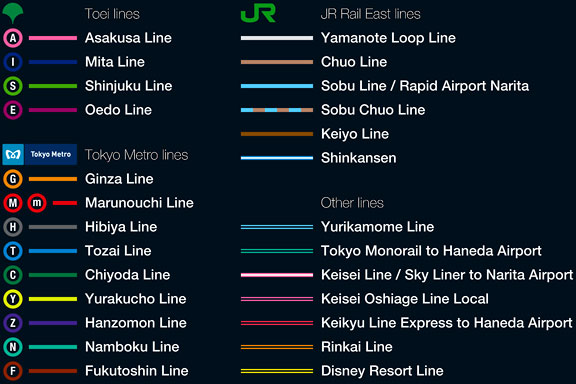
The city has 2 official subway companies, the national railway operates several lines that can be considered metro lines as well, and there are tens of private operated railways that serve may areas just outside the central part of the city. Another problem is that many transfer stations use different station names on each line connected.
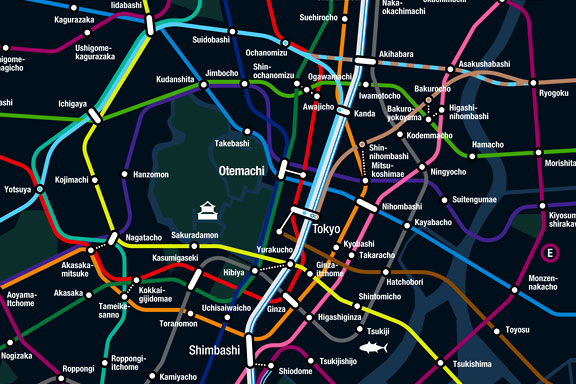
Creating a understandable subway map for this city is extremely complex. Should it be schematic, or geographic realistic? When is it easier to have a short walk than to switch lines?
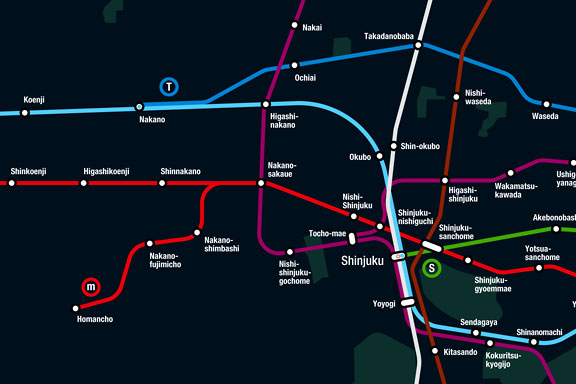
This metro map for Tokyo only shows the most important lines for visitors of the city. That is already 25 lines! All distances are realistic, and the connections to Airports and Shinkansen trains are clearly visible. The parks that give a good orientation in the grey urban mass of Tokyo are visible. Icons show the most important landmarks. Matching the million neon lights the map is drawn in a night situation with the lines as glowing neon tubes.
The map is printed on 100x75 cm photo paper in a limited run, an can be ordered. Send an e-mail or call if you are interested to order.
 いくつかのビールをしたいです?
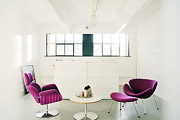
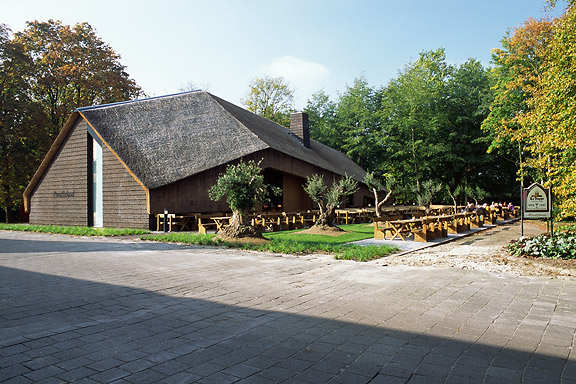
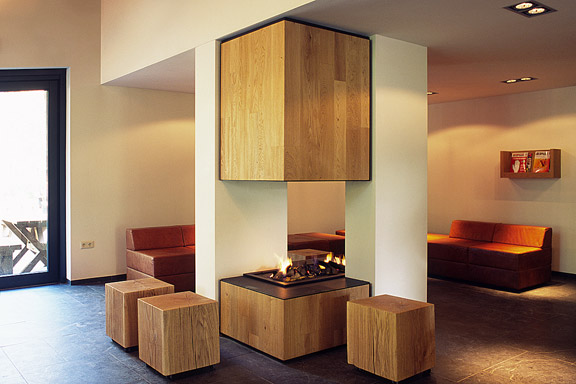
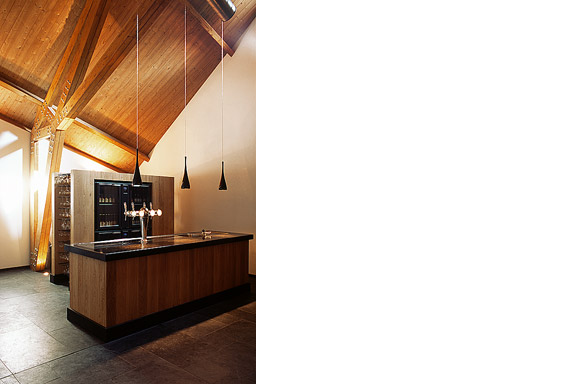
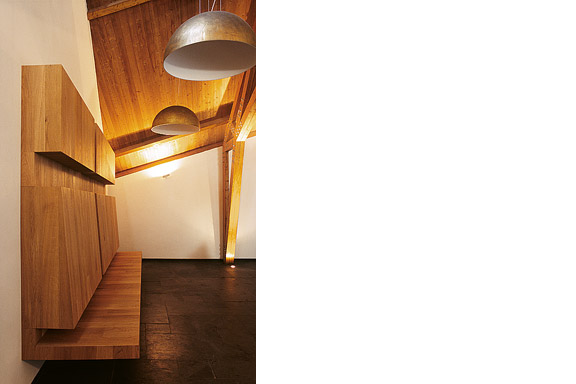
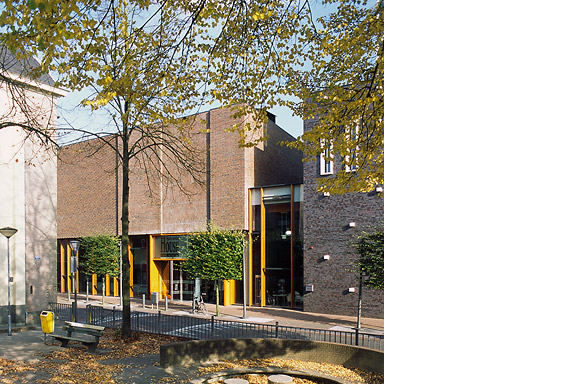
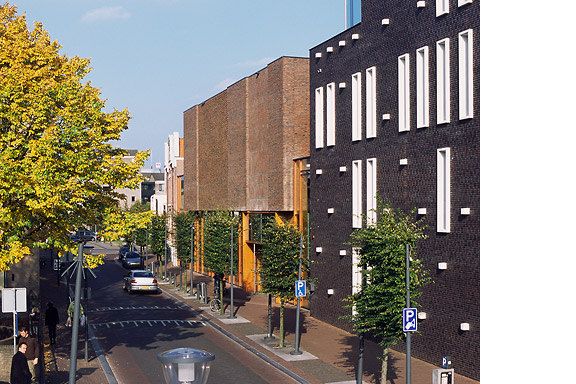
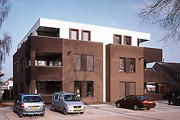
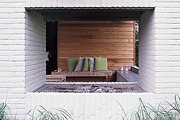
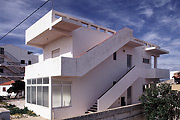
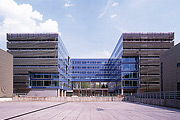
英語のみでの詳細ZZEF asked me to photograph 2 projects designed by Johan van den Berkmortel for the architecture portfolio of ZZEF.
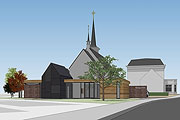
One project is a beer cafe at the monk brewery Koningshoeve and the other is the Bavaria House in Helmond.
 人鱼姫
人鱼姫
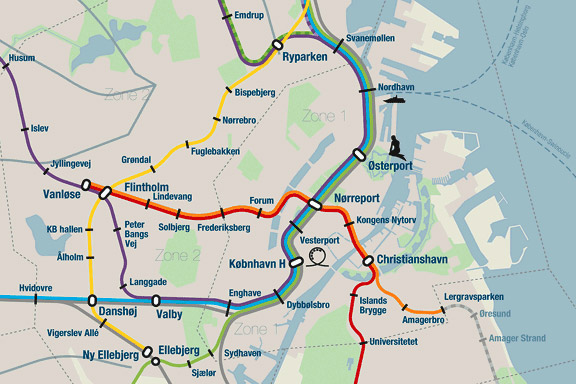
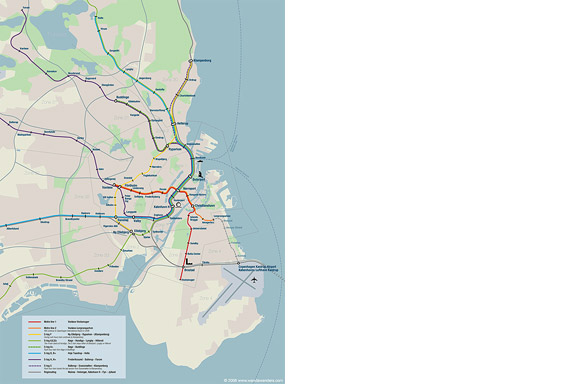
英語のみでの詳細When we visited Copenhagen, I was surprised by the complex metro map for the very small network. It should be possible to draw a map easier to understand and graphically more appealing to visitors.
I designed a new metro map that shows the relation with the city. It combines all trains with different schedules on similar routes to bring back overview.
Autonomous work
 シンデレラ
シンデレラ
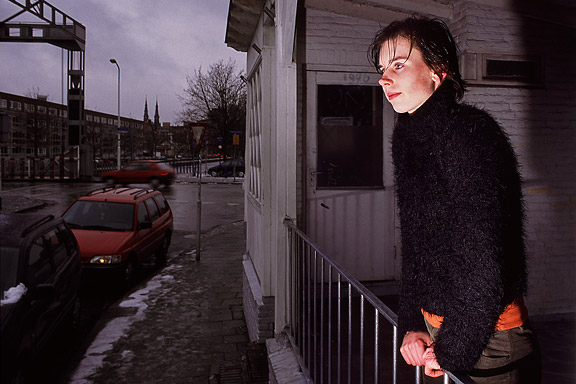
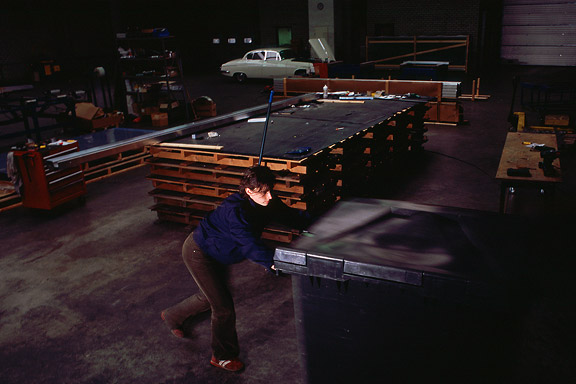
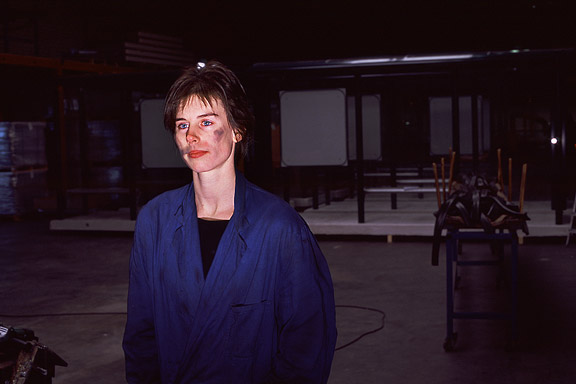
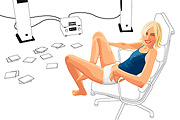
英語のみでの詳細While doing a creative portfolio course at the CKE in Eindhoven I worked on a new interpretation of the story of Cinderella.
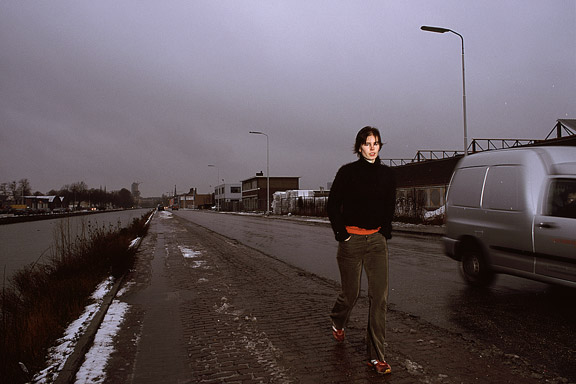
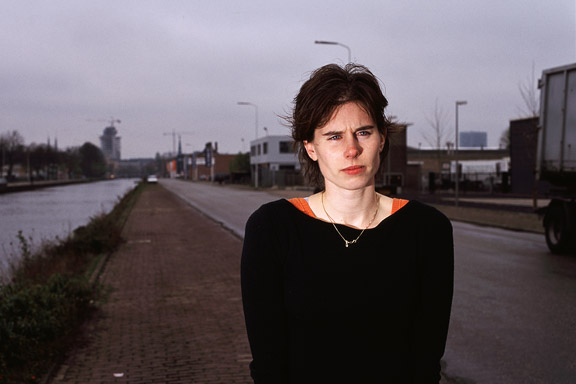
Thanks to model Christine Nabuurs, to Jeroen Roxs for the workshop location, and to John Körmeling for using his veranda.
